
Knots Guide - Sailing
Essential Sailing Knots Guide
1. Bowline – "The King of Knots"
-
Use: Creates a fixed loop that won’t slip, great for securing a line to a ring, post, or sail.
-
Why it's great: Strong, reliable, easy to untie after load.
-
Tip: "The rabbit comes out of the hole, around the tree, and back into the hole."

2. Clove Hitch
-
Use: Quick tie-off to a post or rail (e.g. fenders, temporary dock lines).
-
Why it's great: Fast and adjustable.
-
Downside: Can slip under load or if not under tension.

3. Figure Eight Knot
-
Use: Stopper knot at the end of a line to prevent it from running through pulleys or blocks.
-
Why it's great: Simple and prevents line loss.
4. Cleat Hitch
-
Use: Securing a line to a cleat (e.g. at the dock).
-
Why it's great: Holds firmly and easy to untie under tension.
-
How: Wrap once around the base, then make a couple of figure-8 loops with a locking hitch at the end.
5. Round Turn & Two Half Hitches
-
Use: Securing a line to a post or ring where strength is needed.
-
Why it's great: Won’t jam, holds strong under load.
6. Sheet Bend
- \
-
Use: Joining two ropes of unequal size.
-
Why it's great: More secure than a square knot, especially with differing rope diameters.
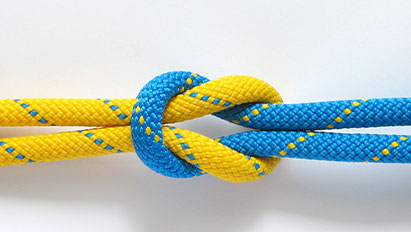
7. Reef Knot (Square Knot)
-
Use: Tying two similar ropes together (e.g. reefing sails).
-
Caution: Not reliable under heavy strain or with different-sized lines.
Bonus:
-
Rolling Hitch: Useful for attaching a line to a tensioned line (e.g. towing or tension release).